
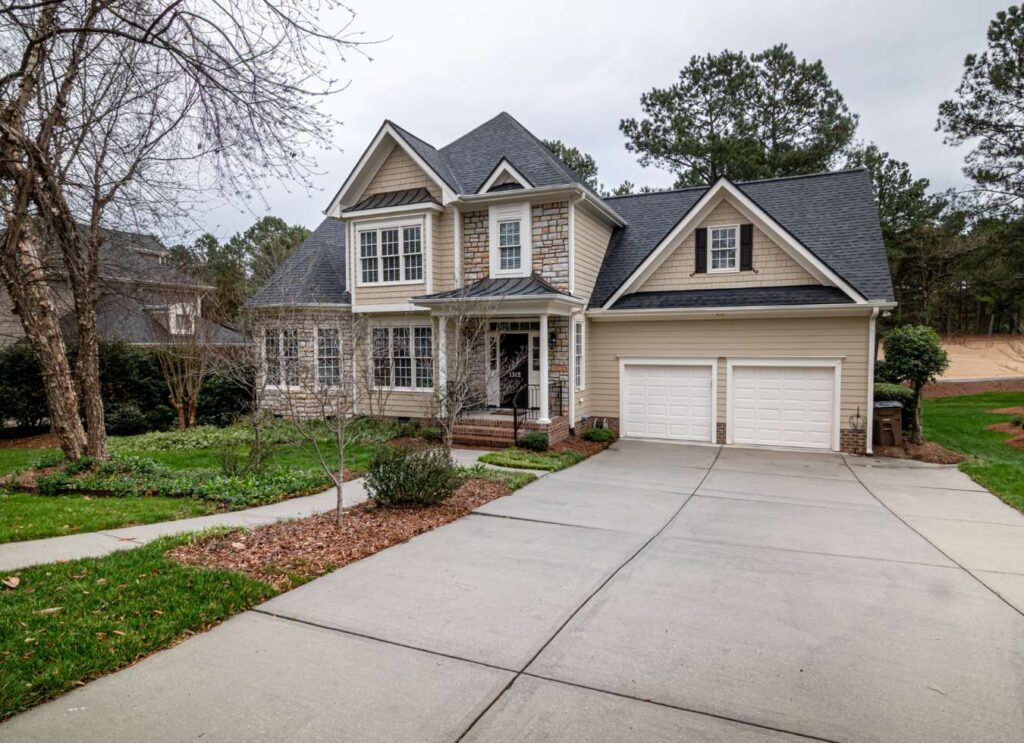
From Roof Woes to “Whoa, Nice Roof!” – Let’s Boost That Resale Value
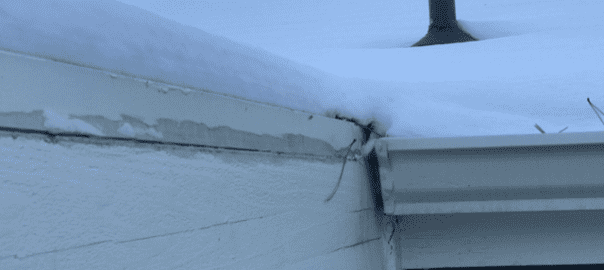
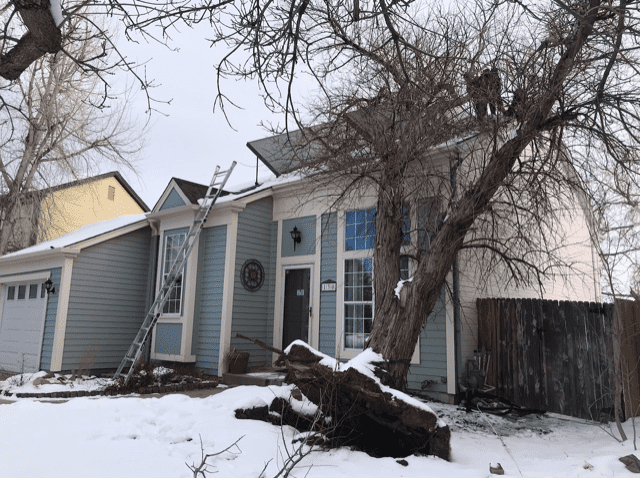
Let’s paint a picture. You’re sipping your morning coffee and looking at the beautiful Colorado Front Range. Life is good—until you spot something shiny in the yard. No, it’s not a nugget of gold or a UFO, but it could prevent water damage. It’s a piece of your roof’s flashing, and it’s not supposed to be chilling next to your lawn flamingo.
Oops.
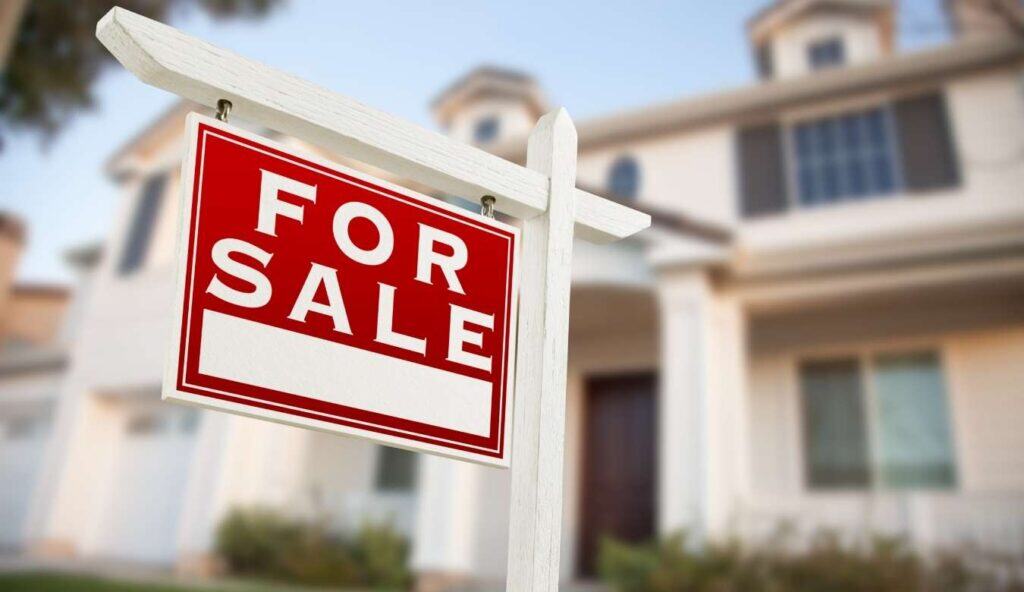
Whether you’ve just been through a storm (classic Colorado spring hail, anyone?) or you’re planning to sell your home and wondering if your 15-year-old roof still has any swagger left, you’re in the right place for a complete roofing system overhaul.
At Denny’s Roofing, we’re roof therapists, not just roofers. We help you effectively deal with hail and storm damage, plan for the future, and increase your home’s value without losing your mind (or money).
Let’s break it down.
🏡 Now Let’s Talk About the Glow-Up: How to Boost Your Roof’s Resale Value
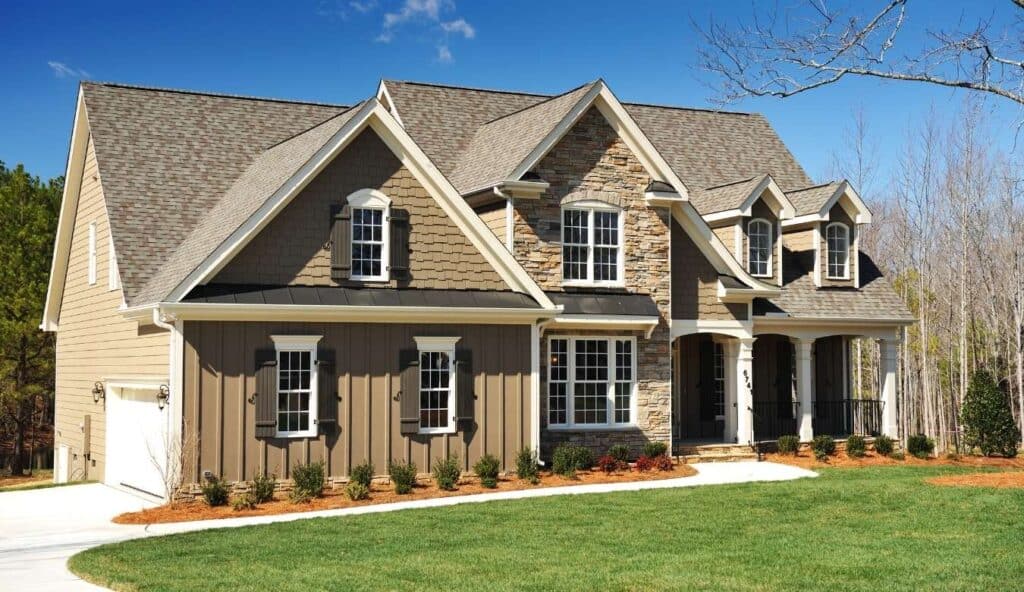
So maybe you’ve weathered a few storms, but if you have roof damage, consider a roof replacement before selling your home. You’re thinking, “My roof isn’t terrible, but it’s not exactly winning any beauty contests.” We hear you; a new tile roof could change that.
Good news: You can file an insurance claim for storm damage. You don’t always need a brand-new roof to boost resale value. Sometimes, a little strategic TLC can go a long way. Here’s how:
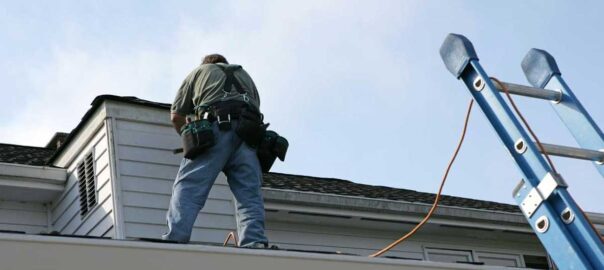
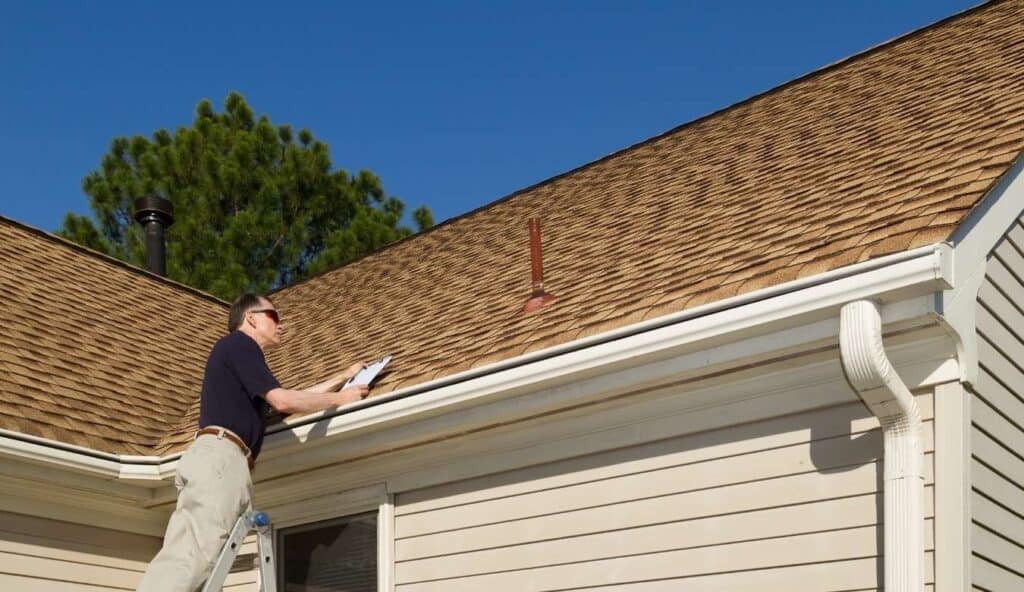
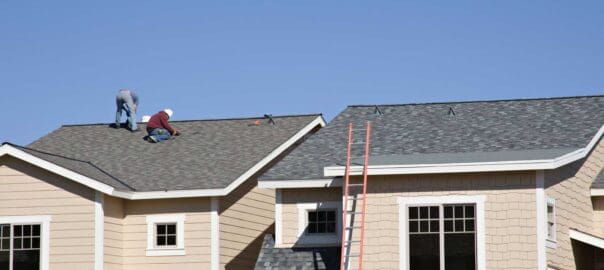
1. Get a Pre-Sale Roof Inspection
Before listing your home, schedule a roof inspection (yes, we do them). Buyers love transparency, and having a clean report or minor fixes already done gives them one less reason to haggle on price.
FYI: “Roof inspection Colorado” gets tons of search traffic—make sure you’re showing up with local pros like Denny’s Roofing.
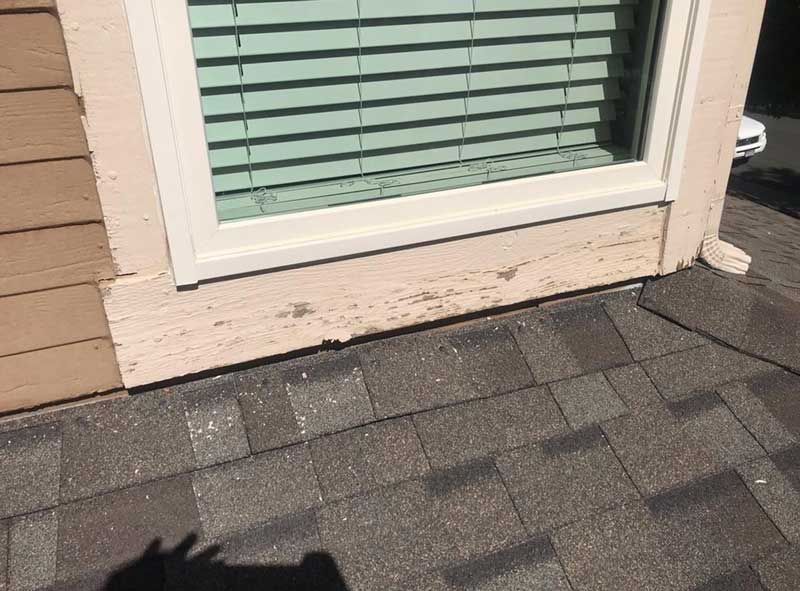
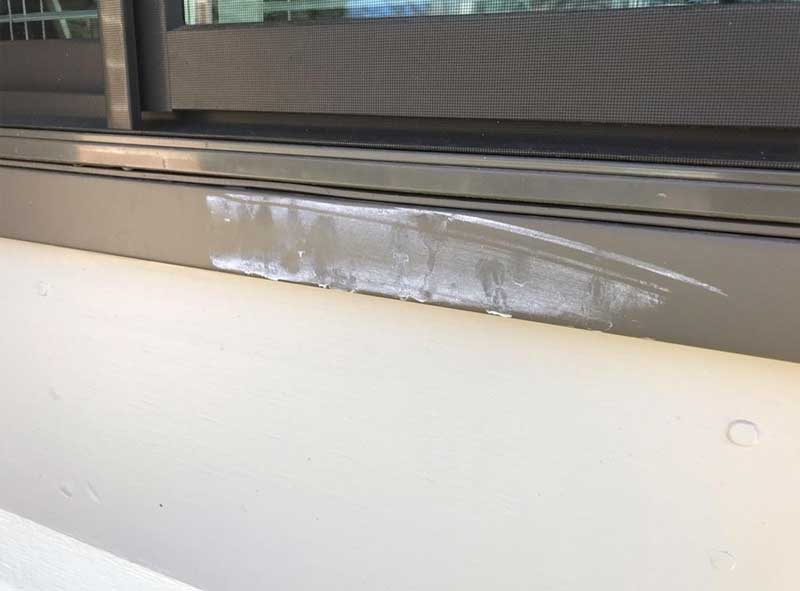
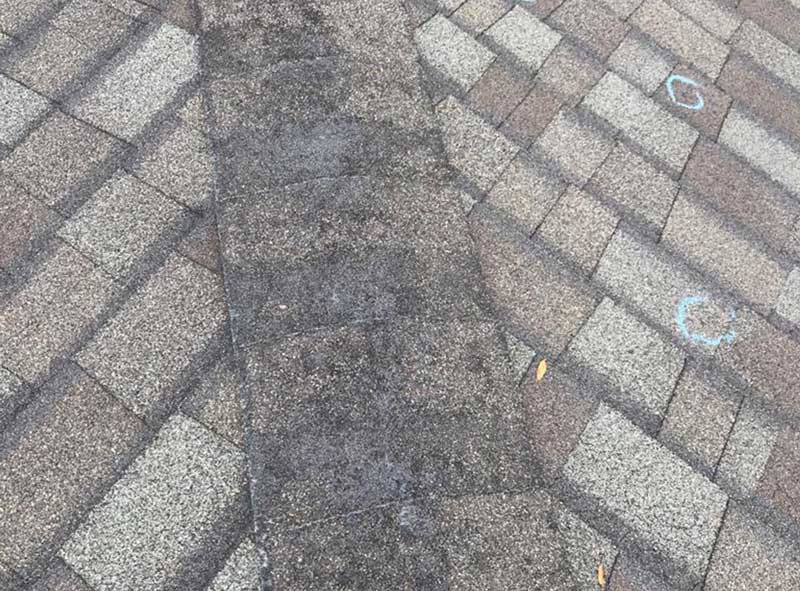
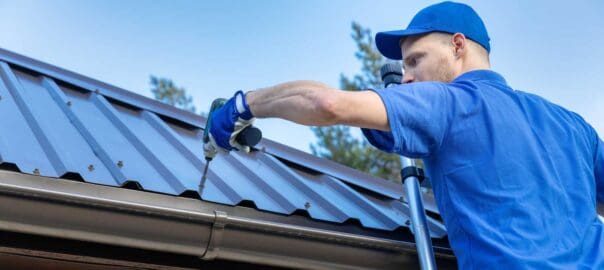
2. Replace Flashing, Fix Leaks, and Seal the Edges
Even if your shingles are in okay shape, they may not withstand strong winds. Bad flashing, cracked caulk, or lifted edges scream neglect. Buyers (and, more importantly, home inspectors) notice these details.
Think of it like cleaning or painting your baseboards before a showing. It’s a minor, cheap fix with a significant visual and emotional impact.
3. Clean Your Roof (Seriously)
We’re not saying you need to take a pressure washer to your shingles (please don’t), but removing moss, algae, and debris from your roof can prevent water damage. It also makes an older roof look younger and better maintained. You are trying to impress the Home Inspector with a reliable roofing system!
Bonus: A clean roof reflects light better and can help with energy efficiency, especially with new roofing material. 🌞
4. Consider a “Roof Tune-Up”
Not quite a replacement, but more than a patch job, a tune-up includes:
- Sealing exposed nails can prevent further roof damage.
- Replacing worn-out vent boots
- Tightening or re-nailing loose shingles can help maintain your roofing system.
- Re-caulking and re-flashing areas that need it
- Gutter cleaning and adjustment
It’s like a facial and oil change for your house. And trust us—buyers love hearing that the roof just got a complete check-up.
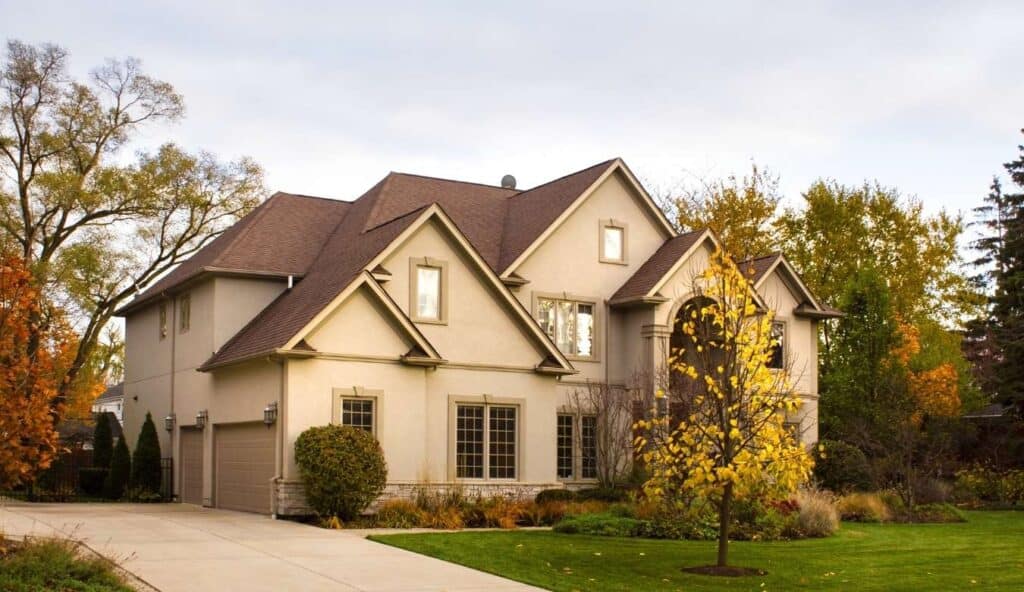
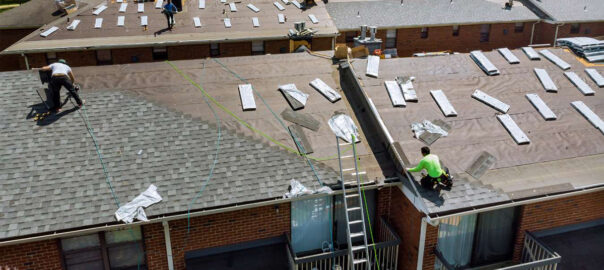
5. If It’s Time—Replace the Roof Strategically
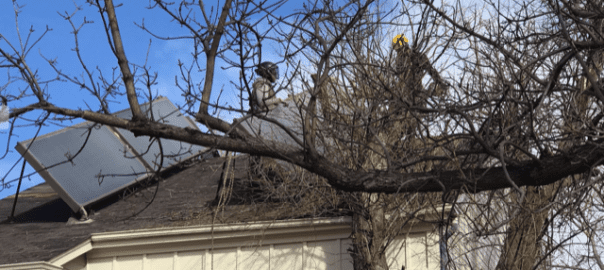
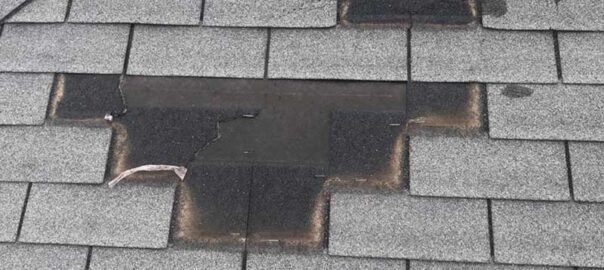
If your roof is missing shingles, checking for hail damage after a storm is essential. Showing its age (we’re talking curling shingles, lots of granule loss, or patchwork repairs from 1998), a roof replacement might be necessary. Complete replacement might be your best investment.
Here’s why it can pay off:
- Most buyers want a “move-in-ready” house.
- A new roof adds significant value, especially if you replace it before selling.
- It also increases curb appeal and trust.
We will give you a FREE Class 4 Upgrade to your shingles, which can help with your insurance claim. A strong roofing system can achieve BIG discounts on home insurance for your buyers, which is a significant selling point.
You can list it with a roofer to assess any roof damage. A significant upgrade to your property can be a new roofing material, like tile, that withstands severe weather. In your selling materials
It can increase your home’s resale value by $10,000–$20,000 or more, depending on your market and the condition of the roofing material.
And with Denny’s Roofing, we’ll help you choose the right materials, colors, and warranties to attract buyers and protect your investment.
Other Related Questions We Received Related to Damaged Roof, Leaky Roof, and Wind Damage
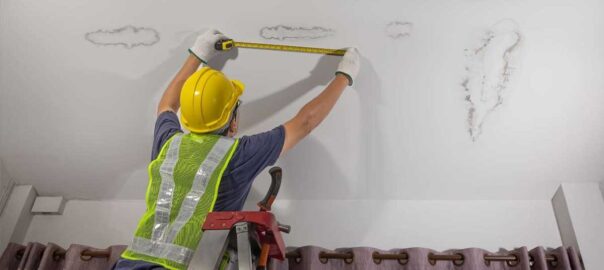
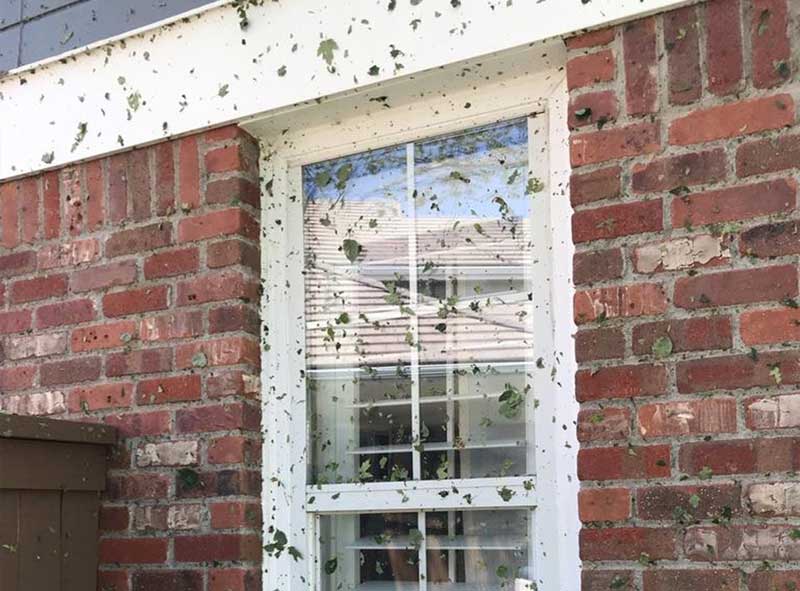
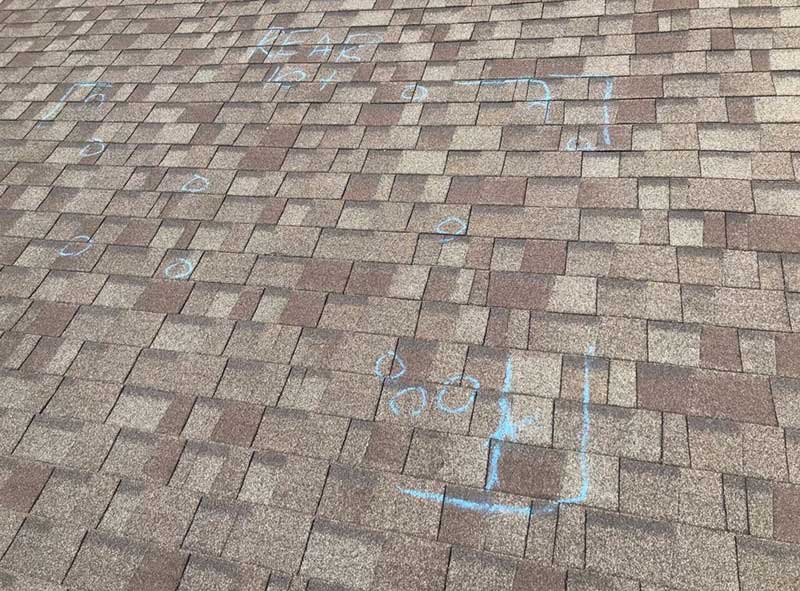
Q: How do I know if my roof has storm damage?
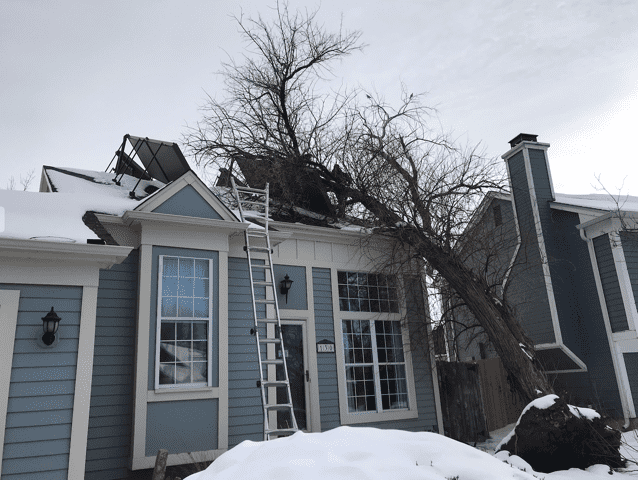
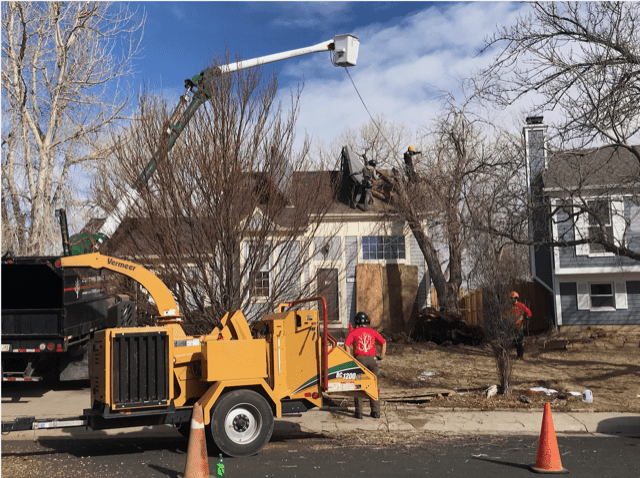
A: After a storm, inspect your roof for signs such as missing shingles, dents from hail damage, or water spots on your ceiling. If you suspect damage, don’t hesitate to contact a roofing contractor for a thorough damage assessment to protect your home.
Q: What should I do if a storm has battered my roof?
A: Call your insurance company to report the damage to your home. Then, contact a reputable roofing company to assess the extent of the damage and discuss whether you need a roof repair or replacement.
Q: When is it necessary to replace your roof after storm damage?
A: If the damage is extensive or your roof is old and has been repaired multiple times, it might be time to replace it. A roofing contractor can help you determine if a roof replacement is necessary.
Q: How can I protect my home from future storm damage?
A: Consider installing impact-resistant shingles or metal roofing to withstand hailstorms and heavy rain. Regular maintenance and inspections can also help identify potential roof issues before they damage your property.
Q: Can storm damage services help with emergency repairs?
A: Yes, storm damage services often provide emergency repair options to quickly address immediate threats to your home, such as leaks or structural damage, to minimize interior damage.
Q: What signs might indicate that your roof needs to be replaced?
A: Signs that your roof might need replacing include persistent leaks, widespread shingle damage, and significant ice damage. If your roof hasn’t been replaced in over 20 years, it may be time for a new one.
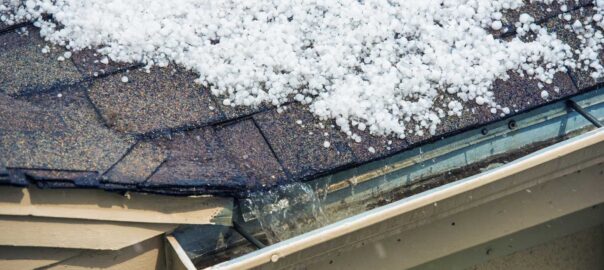
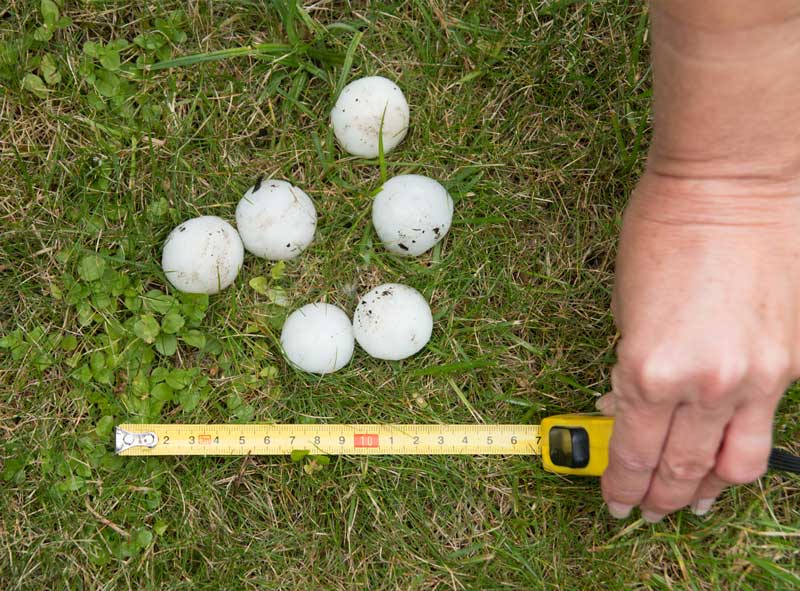
Q: How does hail damage affect my roof?
A: Hail damage can cause dents, cracks, and granule loss in shingles, leading to leaks and water damage. It’s essential to have a roof for an inspection after a hailstorm to assess any damage caused.
Q: What role do insurance companies play after storm damage?
A: If a covered peril damages your roof, insurance companies can help cover the cost of repairs or replacement. Documenting the damage and working with your insurer to make a claim is essential.
Q: Should I repair the roof or get a new roof before selling my house?
A: If the roof damage is minor, repair services may suffice. However, if the roof needs replacement, getting a new roof can increase your home’s value and appeal to potential buyers.
Q: How does roof damage impact the resale value of my home?
A: Roof issues can significantly decrease your home’s resale value. An old or damaged roof might deter buyers, while a newly replaced roof can enhance curb appeal and provide peace of mind to prospective buyers.

💬 Final Thoughts: Roofs Sell Homes, Too
Whether you’ve just survived a Colorado hailstorm and your flashing’s doing the Macarena, or you’re prepping your house to hit Zillow with its best face forward, one thing’s sure: the entire roof needs to shine.
A strong, beautiful roof gives buyers peace of mind—and makes your home stand out in the market, especially after a hailstorm.
Let Denny’s Roofing be your local partner in roof repair, inspection, and replacement. We’re proud to serve homeowners across the Colorado Front Range—from Boulder to Denver, Fort Collins to Colorado Springs—with honesty, humor, and great hair (okay, that part’s optional).
📞 Call us to discuss your roof replacement options.
📍 Serving the Colorado Front Range
Don’t hesitate to contact us with any questions about storm damage. info@dennysroofing.com
Because a little roofing maintenance fix today could mean a lot of resale cash tomorrow.


